




Product Description
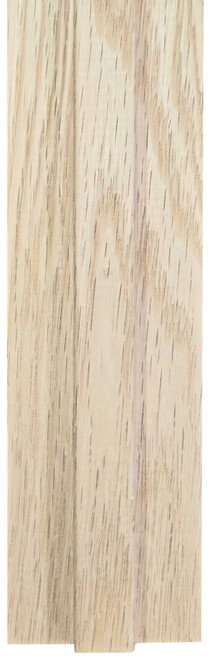
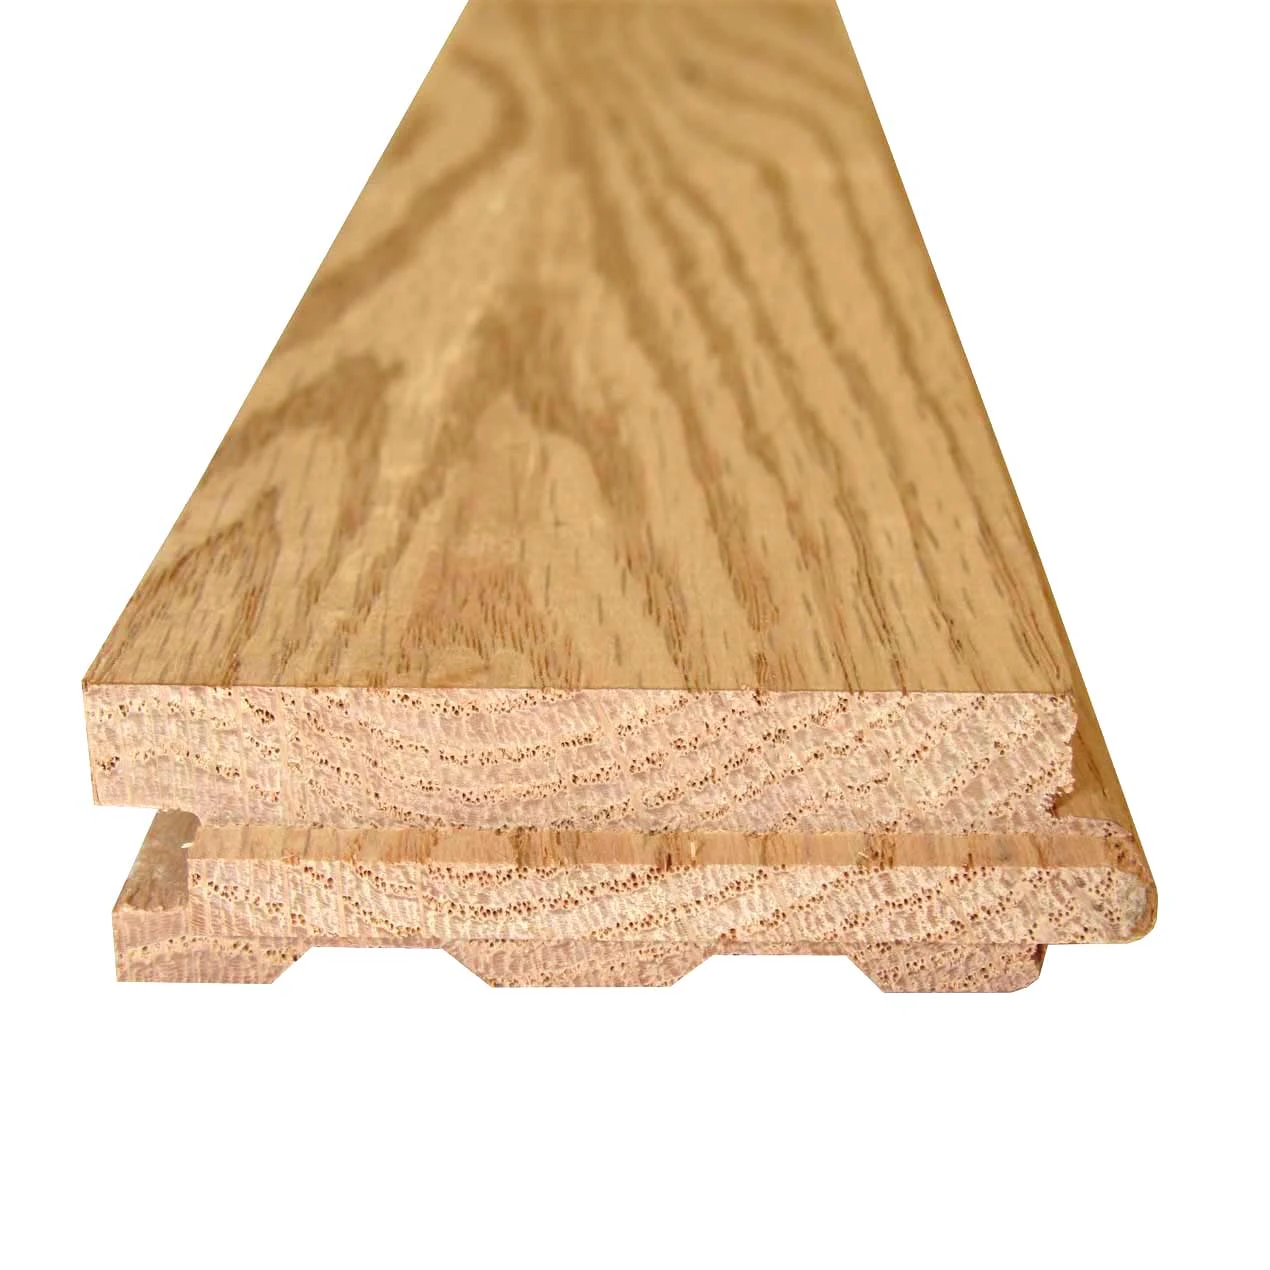
Unfinished Red Oak Flooring — #1 Common Grade
Overview
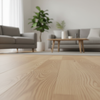
- Classic, warm red oak with natural grain and color variation.
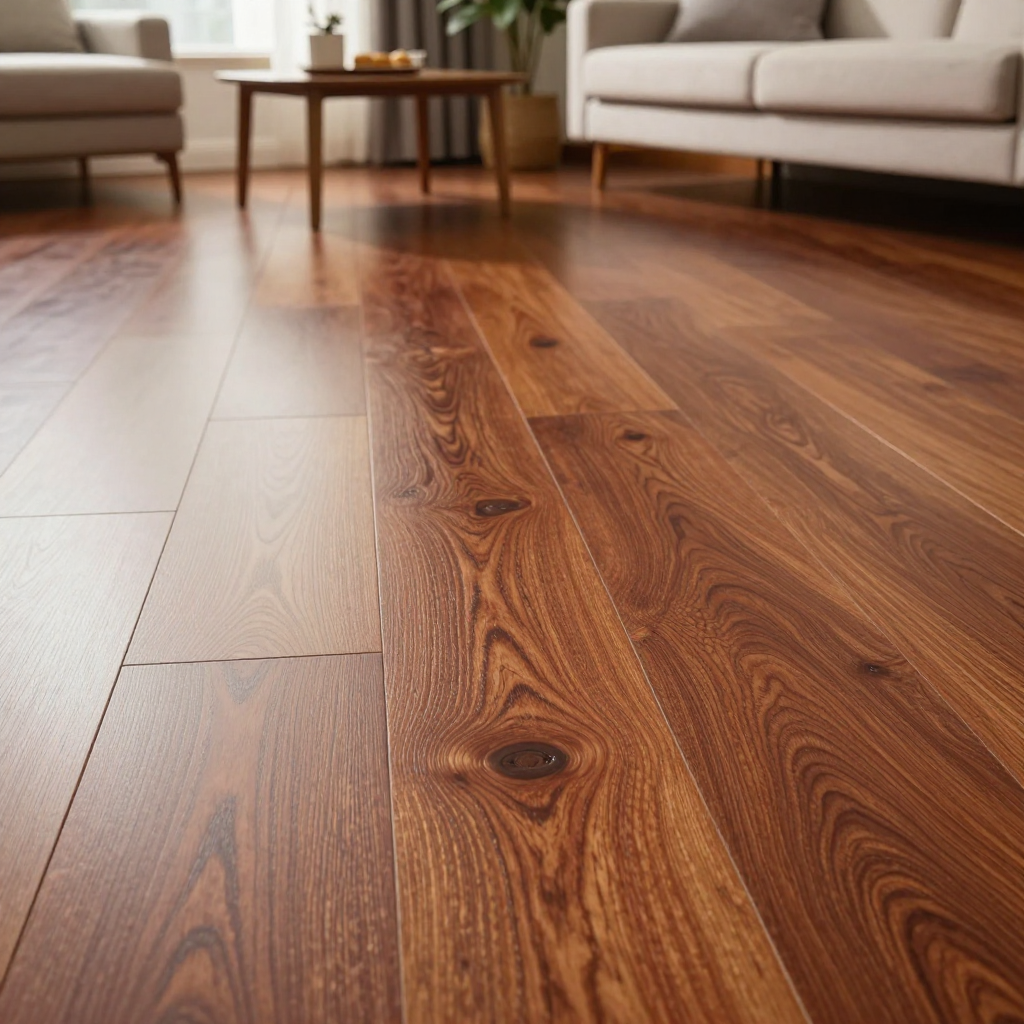
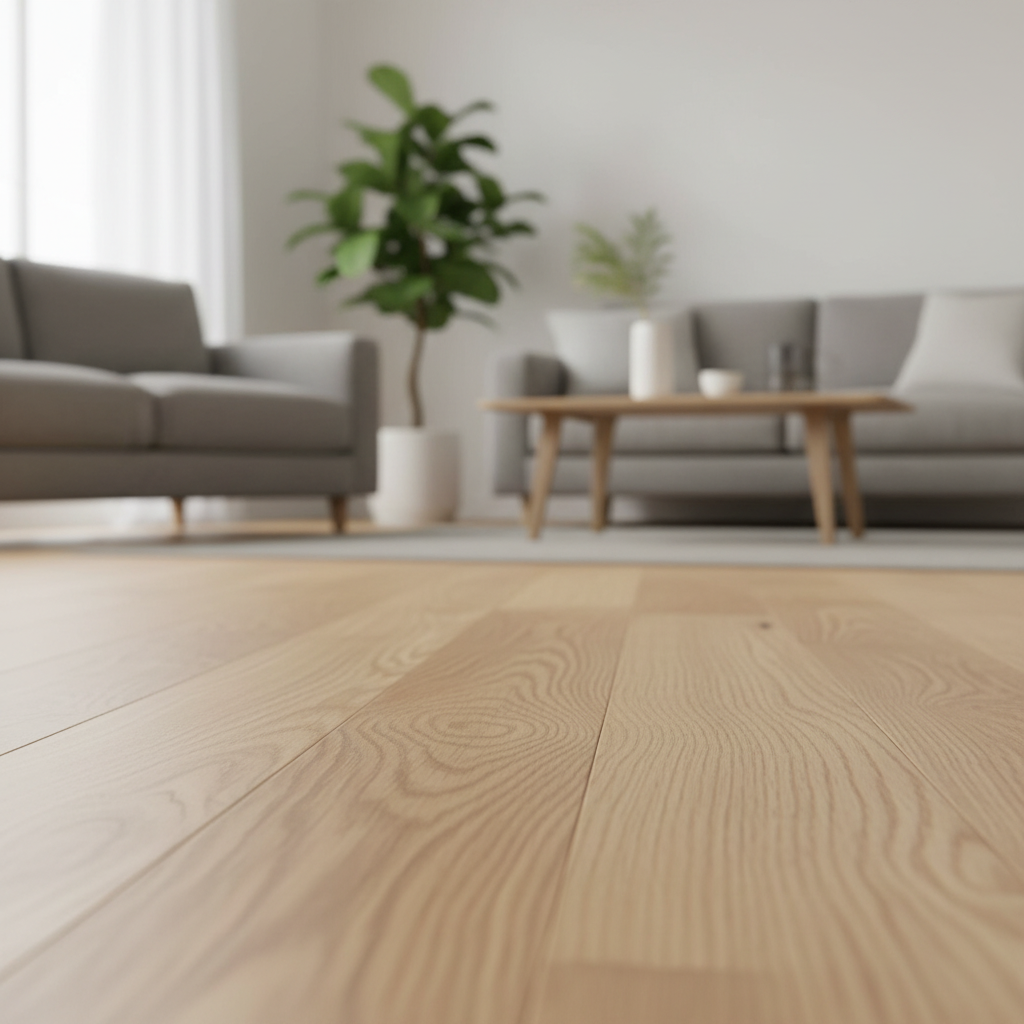
- Unfinished planks let you choose stain and sheen to match any decor.
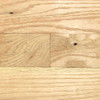
- #1 Common grade highlights small, tight knots and subtle character—adds rustic charm while remaining refined and versatile.
- Width and length: Flooring measures 2-1/4" width. Random lengths up to 6'.
- Sold by bundle: 19.5 sq ft per bundle.
Grade description — #1 Common
- Appearance: Predominantly clear faces with occasional small, tight knots and limited character marks. Knots are sound (not loose) and visually appealing rather than structural defects.
- Character: Tight knots, mild mineral streaks, and modest color variation give each plank personality without a heavily distressed look.
- Suitable use: Great for living areas, dining rooms, and spaces where a balanced mix of warmth and subtle character is desired.
Key product features:
- Species: Red Oak — strong, stable, takes stain evenly.
- Unfinished: Ready for sanding and custom finishing on-site.
- Random lengths up to 6' for a natural, staggered installation. Each bundle covers 19.5 sqft.
- Sold in Bundle packs with additional savings the larger the pack.
- Add-on bundle available when purchased with pack. This Add-on bundle is not shipped without a pack purchase.
Each flooring bundle covers 19.5 square feet. Below are the total square feet provided by common package sizes so you can quickly match product quantities to a room’s area:
- 8 bundles — 156 sq ft: Good for small rooms such as bathrooms or closets.
- 12 bundles — 234 sq ft: Suited for medium rooms like bedrooms or small living spaces.
- 16 bundles — 312 sq ft: Covers larger living rooms or open-plan kitchenettes.
- 20 bundles — 390 sq ft: Appropriate for large living areas or combined rooms.
- 24 bundles — 468 sq ft: Designed for whole-floor coverage in many standard homes.
Tips for customers:
- Measure the room area in square feet (length × width). Compare it to the totals above to choose the closest package size.
- Always add 5–10% for waste, cuts, and pattern matching (e.g., for a 300 sq ft area, order at least 315–330 sq ft).
- If you want help calculating the exact number of bundles (including waste allowance), tell me the room dimensions and desired waste percentage and I’ll compute it for you.
Installation tips:
- Acclimation: Store bundles in the installation space for 3–7 days (or per local climate conditions) to let moisture content stabilize.
- Subfloor: Ensure the subfloor is clean, dry, level (within 3/16" over 10'), and structurally sound. Suitable over plywood, OSB, or concrete with proper moisture barrier.
- Moisture: Test subfloor moisture and maintain recommended indoor humidity (typically 30–50%). Use a vapor barrier over concrete slab.
- Layout: Mix planks from multiple bundles to achieve a uniform look and break up repeating patterns. Stagger end joints for a natural appearance.
- Fastening: Use recommended flooring nails/staples or adhesive systems per manufacturer/contractor guidance for your installation method (nail-down, staple-down, or glue-down where appropriate).
- Expansion gaps: Leave 3/8"–1/2" at perimeter and at fixed vertical obstructions to allow for seasonal movement.
- Sanding & finishing: Sand smooth before applying stain and finish. Use progressive grits and remove all dust. Apply sealers/finishes per product directions; consider a test board for color selection.
- Repairs & maintenance: Small tight knots are stable, but fill visible voids as needed before finishing. After finishing, maintain with recommended cleaners and avoid excessive moisture.